 /
/ How to Create a Top-Down Video Game Style Home for your Website
Part 1: Making an Empty Room
When I started building my virtual bedroom, I had no idea where to start, and it was difficult to find relevant materials online. After going through multiple HTML game tutorials, much trial and error, and yes, some help from the built-in AI chat on VSCode, I managed to put together my dream video-game-style homepage.
I’m not a professional, just a hobbyist who has been learning Javascript through making my website for the past two months, but I wanted to share what I have learnt in case anyone else wants to create something similar and is struggling to find resources like I was.
I would not recommend following this tutorial if you don’t have at least a basic understanding of Javascript.
Without further ado, let’s get started!
1. Creating or finding assets
If you’re a pixel artist (or willing to learn), great! There’s probably plenty of resources for that, and you can fill your room with your very own characters and items.
For us less artistically-inclined, there are tons of resources out there for free video game assets. I recommend starting with this Reddit masterlist. I got most of my assets from itch.io. Just remember to credit the artists!
Once you’ve found something you like, download the asset pack, open the sheet that includes the sprite you need on MS Paint (or similar), zoom in and crop it out, leaving as little empty pixels around it as you can. Save it under a new name (like ‘sprite1.png’) and put it in a folder where you can access it.
For this tutorial, you will need:
- a floor tile, wall tile and the little divider thingy that goes between the floor and the wall (it’ll usually be at the bottom of the wall tile in an asset sheet, just crop it out — you want it to be in a separate image file from the wall). Make sure you crop these precisely; you don’t want any empty pixels around any of these tiles, because we’ll be repeating them to create a pattern
- at least one piece of furniture (or other interactable element you want in your room)
- a character sprite
I'll be using these:


Once you’ve got all that, let’s move on to some actual coding.
2. The HTML skeleton and canvas element
We’re going to start with setting up our HTML file and adding a canvas, which is where the room will be constructed, and a hidden div to hold our assets in.
If you, like me, have never encountered the canvas element before, you might benefit from reading something like the W3 Schools introduction. It’s basically a HTML element that allows you to draw graphics onto your page using Javascript. If you want a decent HTML game tutorial that will take you through all the basics of using the canvas element, I recommend the MDN tutorial for creating a 2d breakout game. A lot of my code is based on that tutorial.
This is what my demo.html file looks like now:
<!doctype html>
<html lang="en">
  <head>
    <meta charset="utf-8" />
    <link rel="stylesheet" href="demo.css" />
    <script src="demo.js"></script>
    <title>My Room</title>
  </head>
  <body>
    <canvas id="myCanvas" width = "480" height = "320"></canvas>
    <div class="hidden">
        <img id="sprite" src= "assets/sprite1.png">
        <img id = "floor" src = "assets/floor2.png">
        <img id = "divider" src = "assets/divid1.png">
        <img id = "wall" src = "assets/wall1.png">
        <img id = "deskImg" src = "assets/desk1.png">
    </div>
  </body>
</html>
As you can see, I’m putting my CSS and Javascript into separate files. Here’s what my CSS file looks like, to make sure the assets in class “hidden” are hidden and to assign a position and background colour for our canvas:
* {
    padding: 0;
    margin: 0;
}
canvas {
    background: #eeeeee;
    display: block;
    margin: 0 auto;
}
.hidden {
    display:none;
}
Note that the height and width of the canvas should be set within the HTML, not the CSS.
You should now see a light grey box on your page. This is the canvas, or where we will be drawing the room in. Feel free to mess around with the size and position of it, and when you’re ready, let’s start drawing!
3. Drawing the floor and walls
Let’s set up our elements. Put all of your code throughout this tutorial inside the DOMContentLoaded event listener, to make sure the code doesn’t execute until all the necessary elements have loaded and are ready for use.
document.addEventListener('DOMContentLoaded', async () => {
    const canvas = document.getElementById("myCanvas");
    const ctx = canvas.getContext("2d");

    const floor = document.getElementById("floor");
    const divider = document.getElementById("divider");
    const wall = document.getElementById("wall");
})
Honestly, I don’t fully understand myself what the ctx variable actually is, but I know it’s necessary for drawing 2D shapes on your canvas. The MDN tutorial describes it like this:
"Then we're creating the ctx variable to store the 2D rendering context — the actual tool we can use to paint on the Canvas."
W3 Schools says “The getContext() method returns an object with tools (methods) for drawing.” So. Yeah. Think of ctx as your pencil.
Now that we have our pencil and our elements, let’s put them on the page!
First, we want our wall to be a repeating pattern of the singular wall tile we have. Below our list of constants, write the following code:
let wallPattern = null;
function setWallPattern() {
    if (wall.complete && wall.naturalWidth !== 0) {
        wallPattern = ctx.createPattern(wall, 'repeat');
    }
}
wall.addEventListener('load', setWallPattern);
setWallPattern();
This checks that the wall image has loaded and then creates the repeating wall pattern.
Next, we’re going to draw it on our canvas. The four variables inside fillRect() are the x- and y-coordinates of the top-left corner or starting point for our image, and the width and height of the space we want it to fill.
function draw() {
    if (wallPattern) {
        ctx.fillStyle = wallPattern;
        ctx.fillRect(0, 0, canvas.width, canvas.height);
    }
};
Lastly, we are going to add a startGame() function, which will call the draw() function once our wall has loaded. There’s a lot of making sure things are loaded involved in this.
function startGame() {
    draw();
}

if (wall.complete) {
    startGame();
} else {
    wall.addEventListener("load", startGame);
}
You should now be able to see your wall pattern on the canvas:
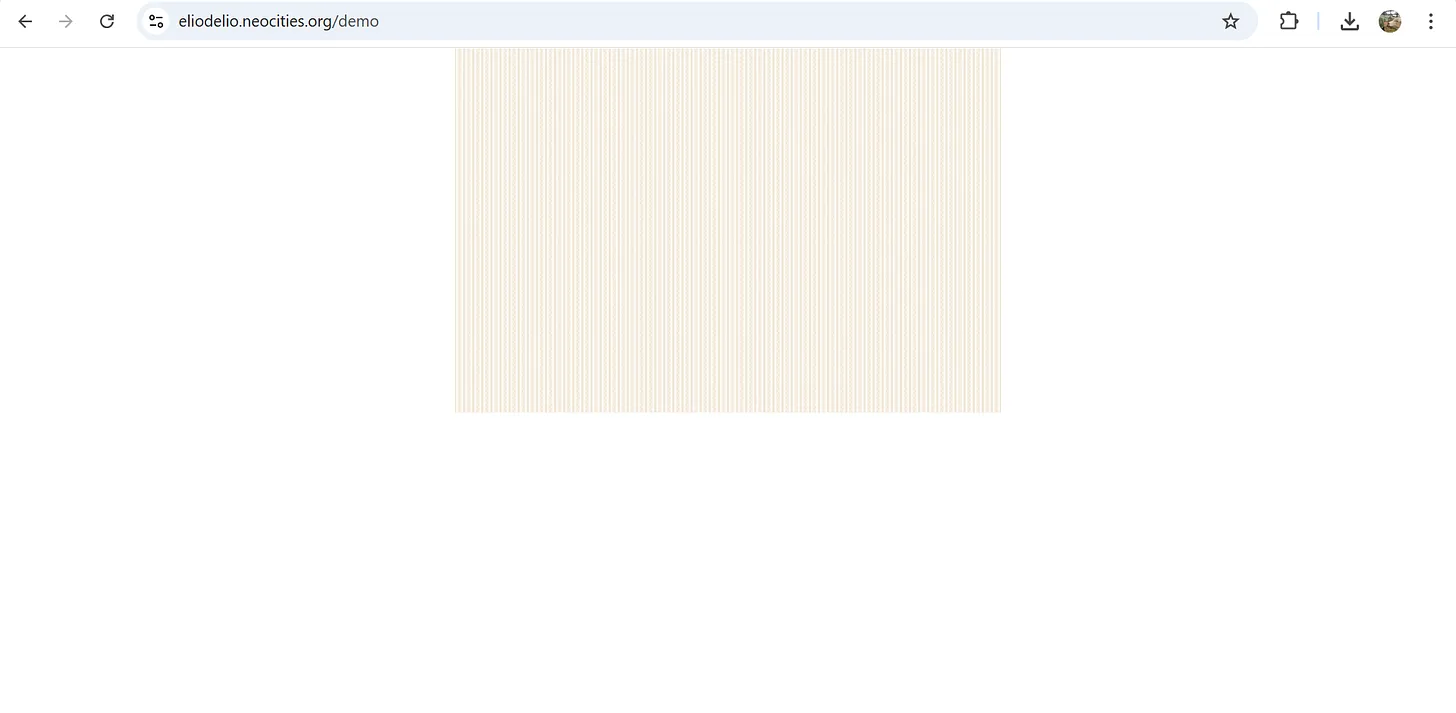
Wow! We have a wall! But we don’t want it to take up the whole canvas.
Let’s add a wallHeight at 1/3 of the canvas height, just below our wall constant near the top of the page:
const wallHeight = canvas.height / 3;
In our draw() function, replace the ctx.fillRect line with this:
ctx.fillRect(0, 0, canvas.width, wallHeight);
Now our wall only takes up the upper third of the canvas!
Let’s do the same thing with our floor and divider thingy (the scientific term for it). First, create the patterns (put this right under the code for your wallPattern):
let divPattern = null;
function setDivPattern() {
    if (divider.complete && divider.naturalWidth !== 0) {
        divPattern = ctx.createPattern(divider, 'repeat');
    }
}
divider.addEventListener('load', setDivPattern);
setDivPattern();

let floorPattern = null;
function setFloorPattern() {
    if (floor.complete && floor.naturalWidth !== 0) {
        floorPattern = ctx.createPattern(floor, 'repeat');
    }
}
floor.addEventListener('load', setFloorPattern);
setFloorPattern();
To help us position the floor and divider we’re going to add an extra constant for the dividerHeight (use the height of your actual divider tile for this; mine was 7px). Add this below your other constants:
const dividerHeight = 7;
Now we can calculate the positions of our floor and divider. Add this to your draw() function:
if (divPattern) {
    ctx.fillStyle = divPattern;
    ctx.fillRect(0, wallHeight, canvas.width, dividerHeight)
};

if (wallPattern) {
    ctx.fillStyle = wallPattern;
    ctx.fillRect(0, wallHeight + dividerHeight, canvas.width, canvas.height - wallHeight + dividerHeight);
}
The divider starts where the wall ends at wallHeight and only has the height of itself, i.e. it doesn’t repeat vertically. The wall starts below both wallHeight and dividerHeight, and takes up the height of the canvas minus the wallHeight and dividerHeight.
You should now have an empty room that looks something like this:
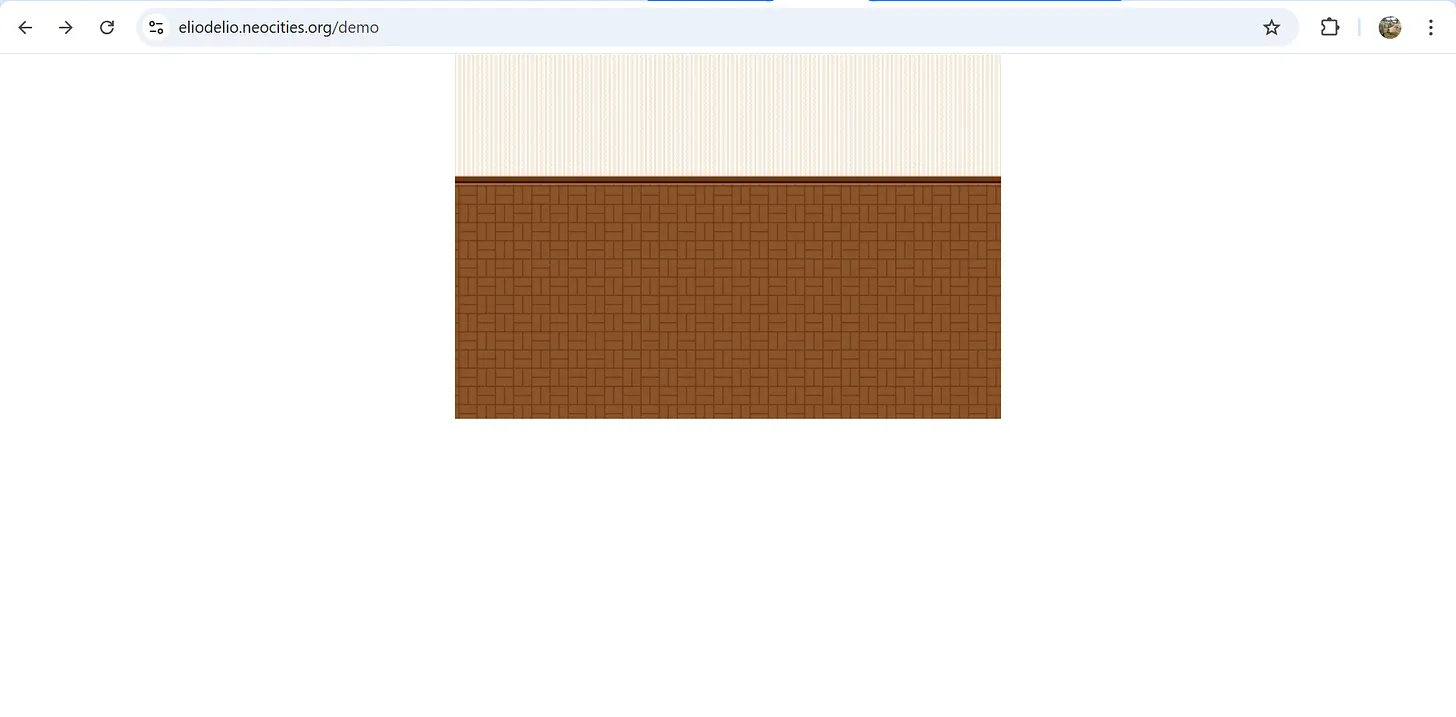
Check your HTML, CSS and JS code against mine.
If everything looks good, move on to Part 2 to add your character sprite and make it move!
(Note: if you have issues with some of the tiles not always loading properly, I will be introducing a more robust method for ensuring everything loads in Part 3.)